

How to Activate WooCommerce Maintenance Mode
How to Activate WooCommerce Maintenance Mode

You may want to put your WooCommerce site in maintenance mode for performing updates, fixing security bugs, updating content, etc.
You can also turn maintenance mode on if you’re launching your store. Because it will let people know when your online store will be live. So, instead of showing an error page, you can display a friendly message for your visitors.
In this blog, we will discuss the step-by-step process to activate maintenance mode on your WooCommerce site. There are two ways to do it. You can either use a plugin or a snippet code
Activating maintenance mode using a plugin
- Go to your site dashboard> Plugins> Add new
You are going to need a plugin to activate maintenance mode.
So let’s pick a plugin called WP Maintenance Mode - Install and Activate the plugin
- Once activated, you can see the plugin under Settings menu on the left panel of the dashboard
- Now you can configure the plugin using three tabs – General, Design, and Modules
To activate maintenance mode, you just need to select the Activate option under the General tab > Save Settings
Activating WooCommerce maintenance mode using snippet code
Alternatively, you can use this snippet code to activate maintenance mode.
// Activate WordPress Maintenance Mode

function wp_maintenance_mode() {

    if (!current_user_can('edit_themes') || !is_user_logged_in()) {

        wp_die('<h1>Under Maintenance</h1><br />Something ain't right, but we're working on it! Check back later.');

    }

}

add_action('get_header', 'wp_maintenance_mode');Note: Do not apply the code snippet directly to your parent theme as it wipes everything when you update the theme. Use a child theme php.function to use the custom code.
How to use the snippet code
- Log into your site dashboard
- On the dashboard, go to Appearance>Theme Editor> functions php.
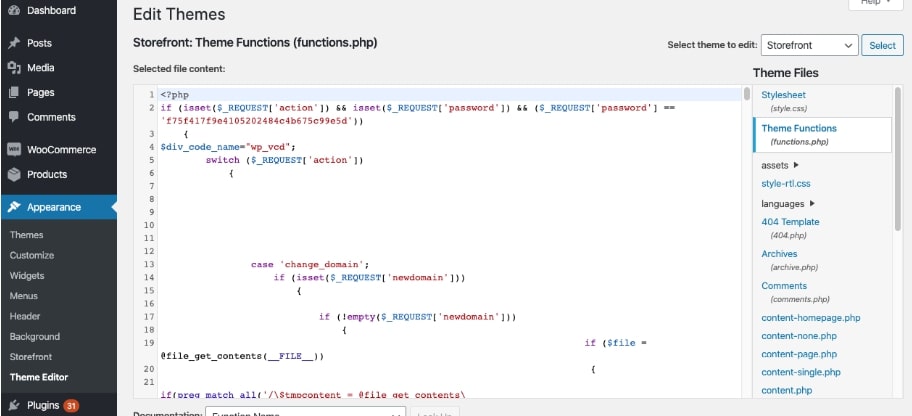
- Then add the above snippet code to the Child theme’s functions php.
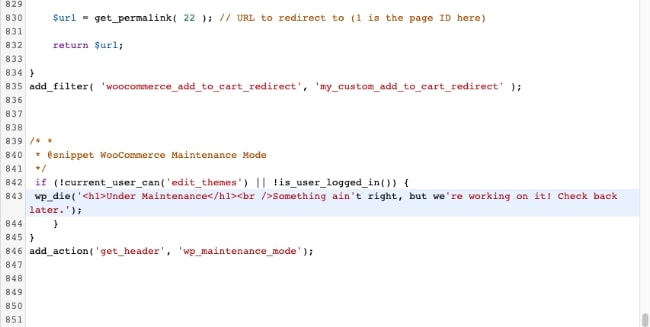
You can amend the wording of message in code snippet as shown here> Update the file
That’s how you activate maintenance mode on WooCommerce.
Want more help with WooCommerce? Check out our plans now
 Shares
